|
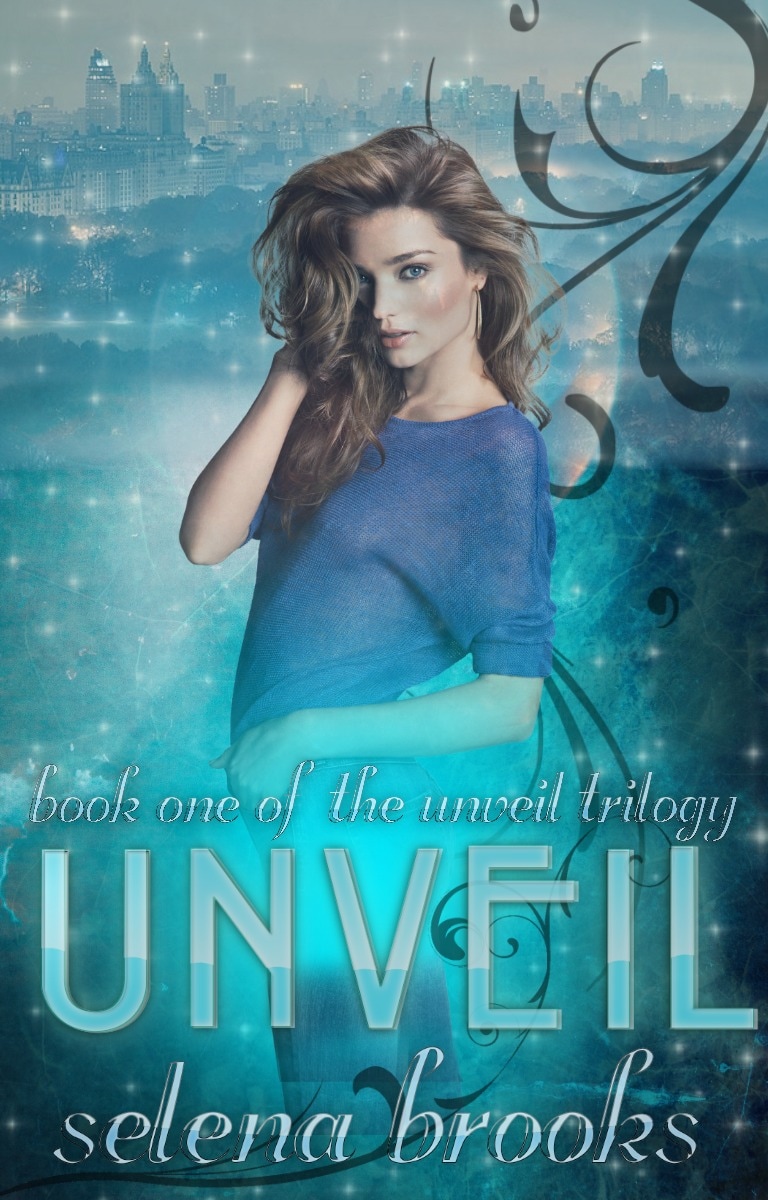
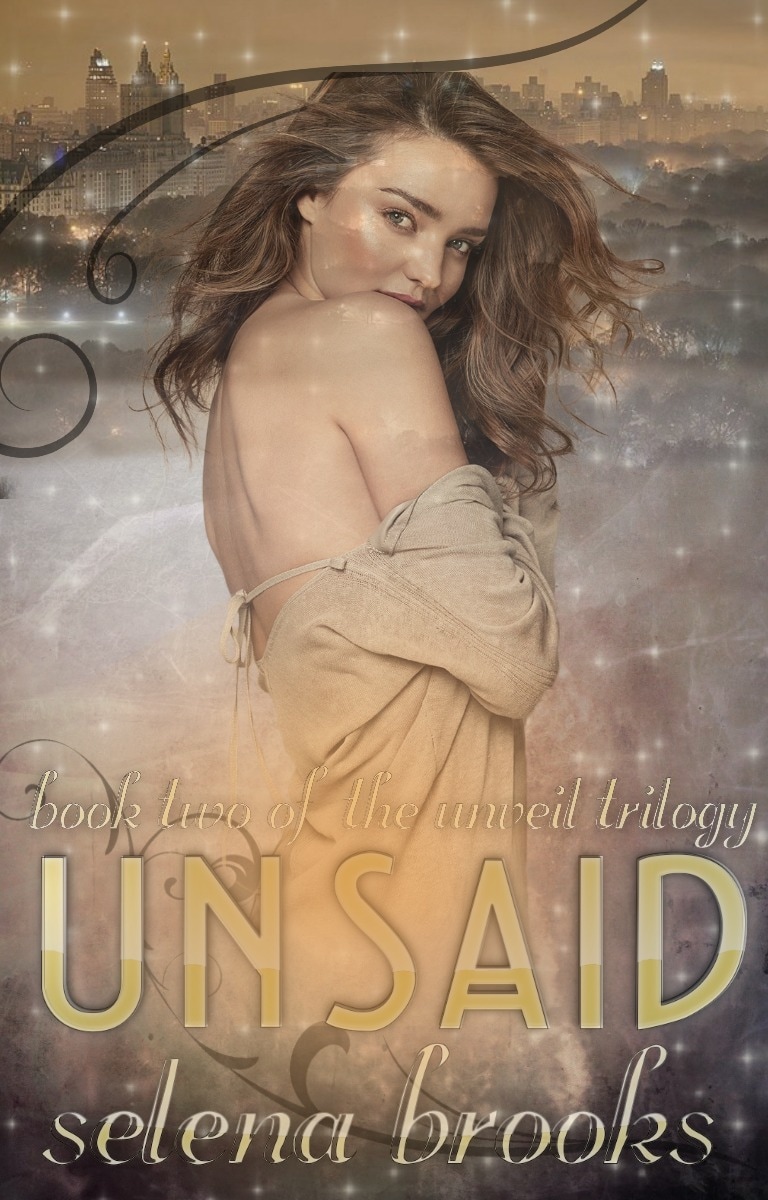
With the release of 3 brand-new covers for the Unveil Trilogy, I figured I would take you behind-the-scenes of my cover-making so you can see exactly how I make my covers.
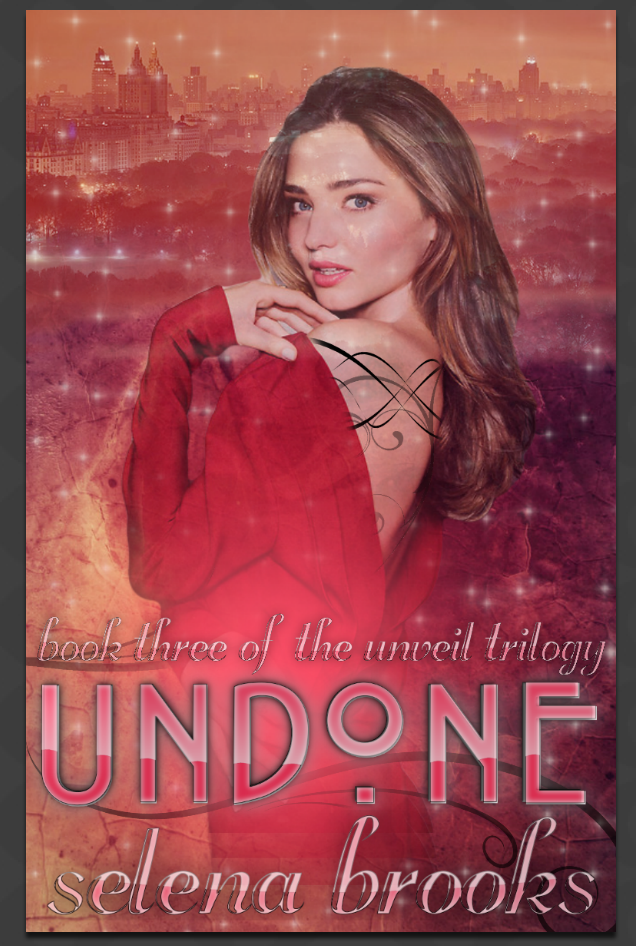
Resources: Photos: Pinterest Textures & PNGs: Deviantart Photo Editing: Picmonkey Fonts & Text Effects: CoolText Below is a step-by-step overview of how I made the cover for Undone (Unveil #3).
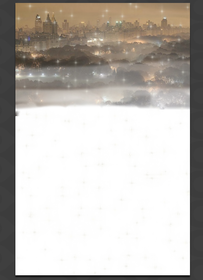
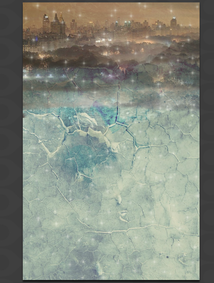
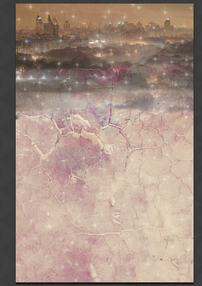
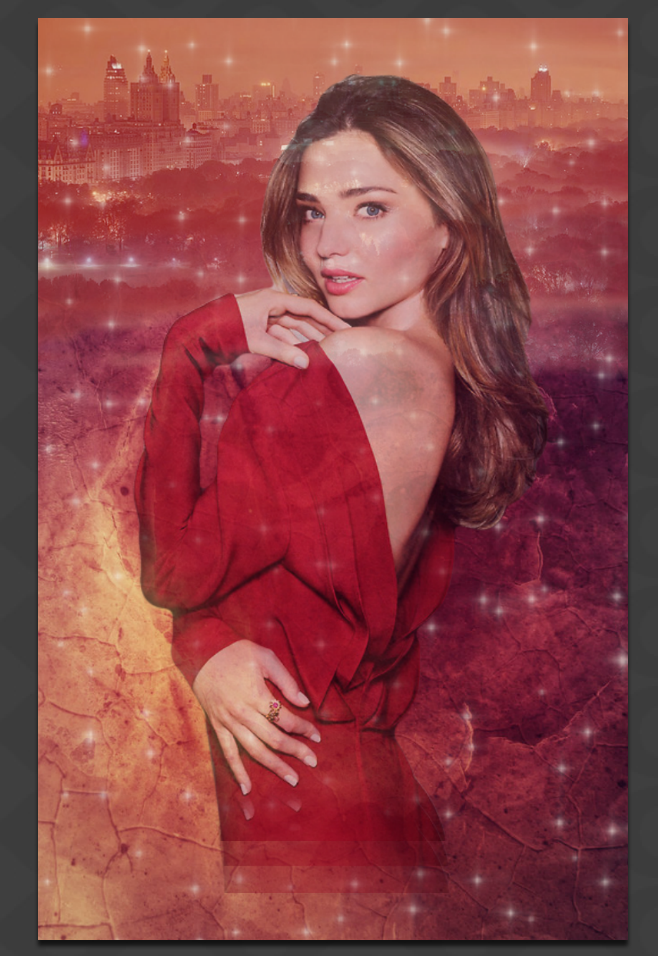
1. I added, blended, and textured the New York City skyline before beginning. I also added a star-like sparkle effect. 2. I added a texture behind the skyline. 3. Then, I colored the texture to match the reddish color scheme I was going for with this cover.
4. I added a second texture and blended it with the first one. 5. I colored the New York City skyline to match the texture. 6. I added in the model, but haven't yet blended.
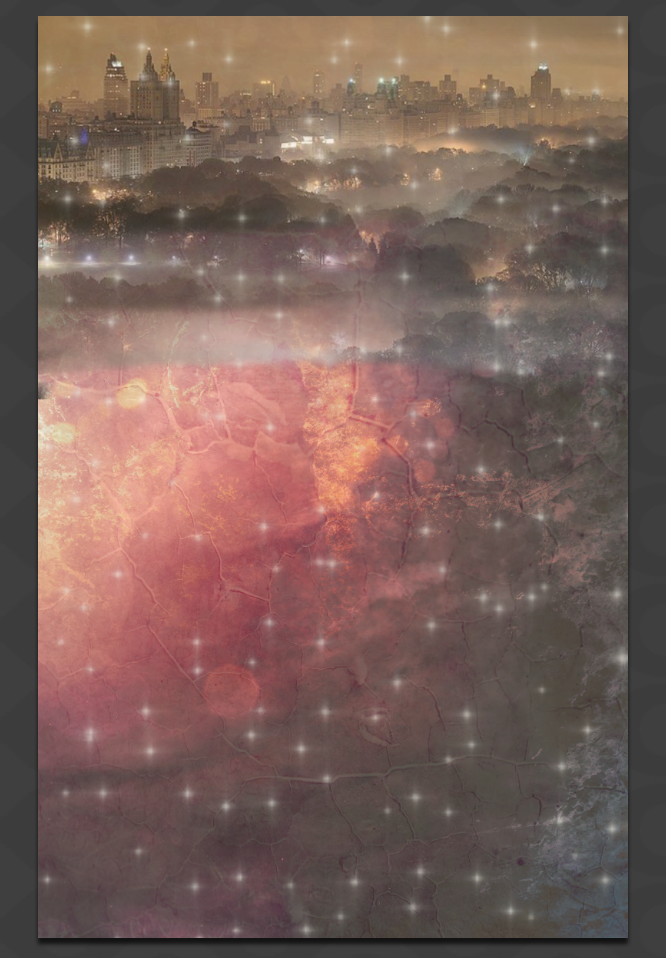
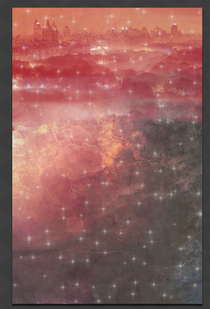
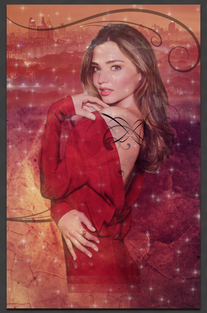
7. Lots happening here! I switched out the texture/color of the skyline because I didn't like the way it fit, and I blended in the model. 8. I added the swirl-tattoo effect. 9. Then I put in the text, with no effects yet.
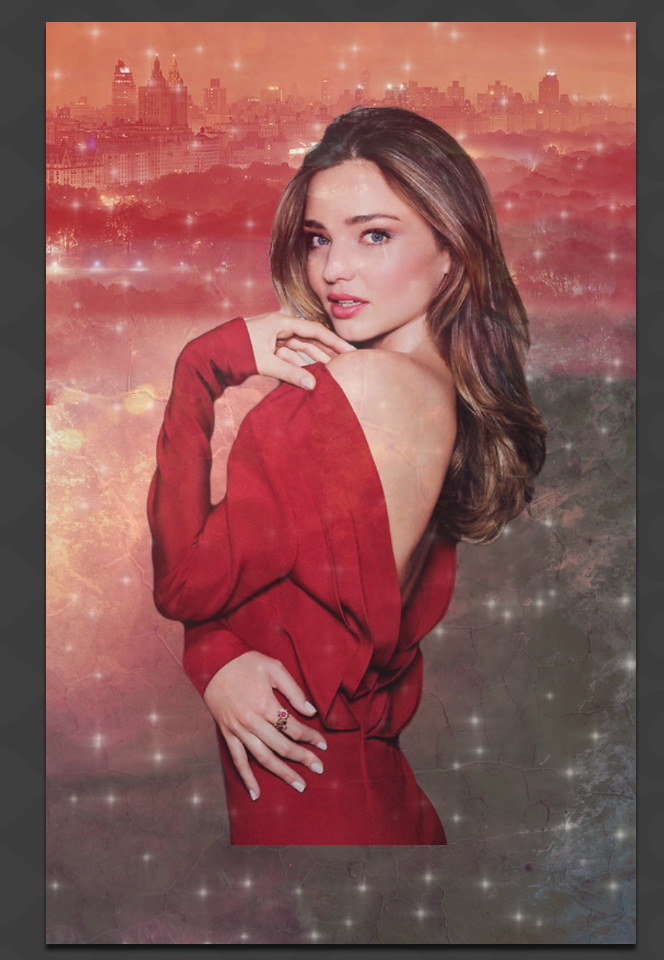
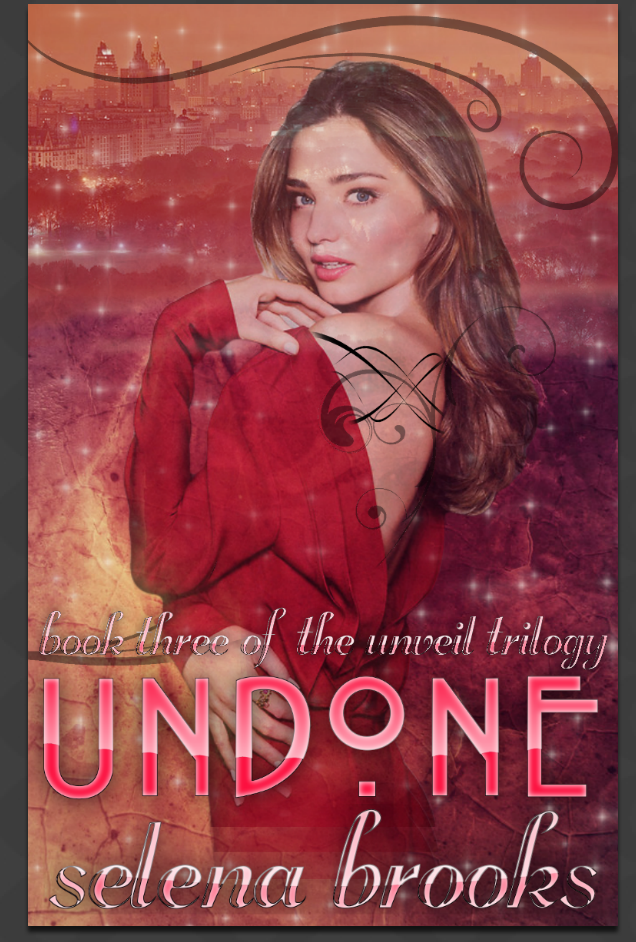
10. I blended and faded the text a little to make it fit better with the rest of the cover. 11. I added the red glow to the text. 12. Just a few final touch-ups—I dulled the text a little and faded the tattoo on the model's back. And that's the finished product! It only took me about an hour to make and was relatively simple. Plus, all of the tools I used are completely free (some do require you to create an account, though). What do you think of the covers?
2 Comments
Vanessa
5/6/2017 11:25:22 am
Awesome! I always wondered how you did it! You're covers are always so amazing! 😍
Selena Brooks
5/6/2017 12:01:41 pm
Thank you so much!! :) Leave a Reply. |
AuthorWriter, life-lover, world-explorer. Follow me for updates on my writing. Archives
December 2017
Categories
All
|


 RSS Feed
