|
A lot of you have been asking how I write, how I schedule my writing time, and how I outline my novels. In my old blog, I had a really helpful post called 10 Steps to Writing a Novel which a lot of people found very helpful, but when that website crashed I lost the article. Instead of trying to recreate it verbatim, I'll instead give you a tour of my top-secret writing files, which will hopefully provide some insight for you. 1. SchedulingThe update schedule you see on Wattpad isn't my official writing schedule—I tend to write three or four chapters ahead, that way if I have a busy week or two I can still stay on schedule. So while my Wattpad update calendar looks like this:  My own writing calendar looks like this (much less colorful, right?): 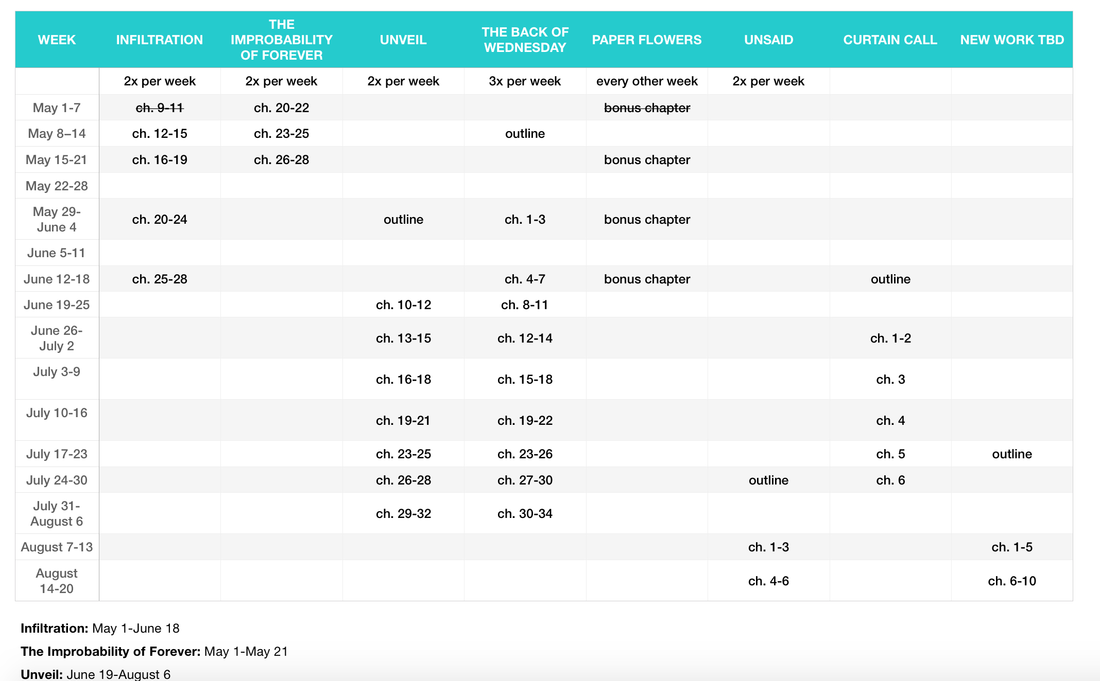 I usually try to write about 8 chapters a week during the summer—during the school year, 2-3 chapters a week is about average for me. With this calendar, I can make sure my time is distributed evenly throughout my books and that I finish them on time while uploading regularly. A schedule is SO important for me because it fights that nagging issue of procrastination. 2. Outlining Yes, I ALWAYS outline my books. The last book I wrote that I didn't outline was way back in 2013, and I was lucky that it turned out all right. Without outlining, I have trouble with pacing, plot, and length. I usually don't outline character development—that tends to come organically as I write the book. So how detailed are my outlines? One or two sentences per chapter is usually enough to make sure I'm moving the plot along; I'll add my own twist to each chapter based on add-ons in previous chapters. My outline isn't set in stone, but it's a pretty firm guide for me once I actually start writing. I store all of my outlines in a Figment book draft (for those of you who don't know, I started writing on Figment)—I never got around to finding another system. Here's some sneak peeks into that (peep my super old and un-updated general scheduling plan): 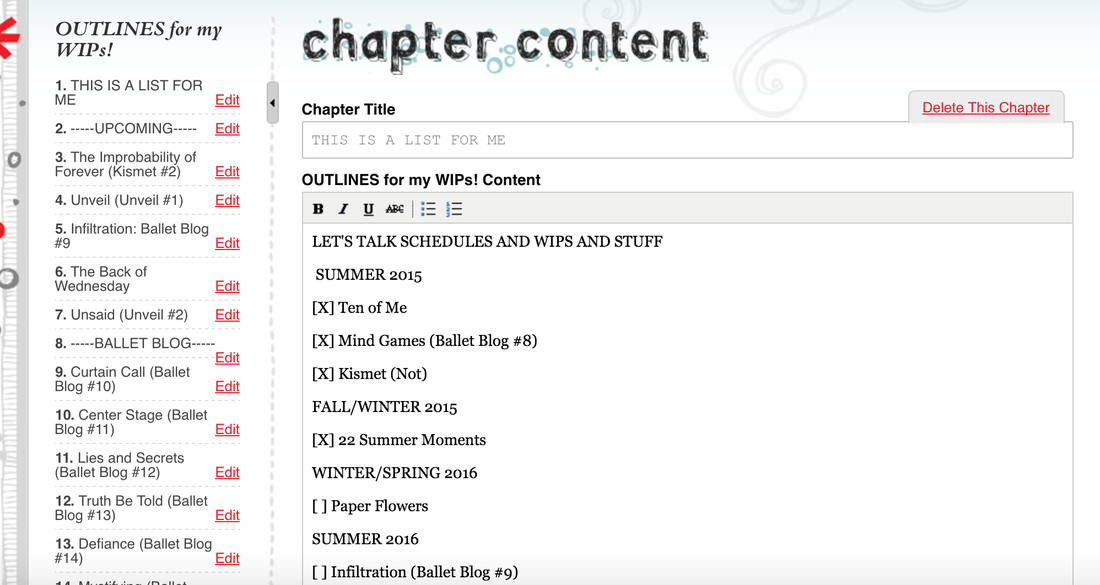 I HIGHLY recommend you don't look at the next two pictures unless you've finished part one of Paper Flowers! Yes, the first picture is entirely me developing backstory—backstory is so crucial! I also find it really helpful to include the date/day of the week for each chapter so I know what a general day for my character can look like. 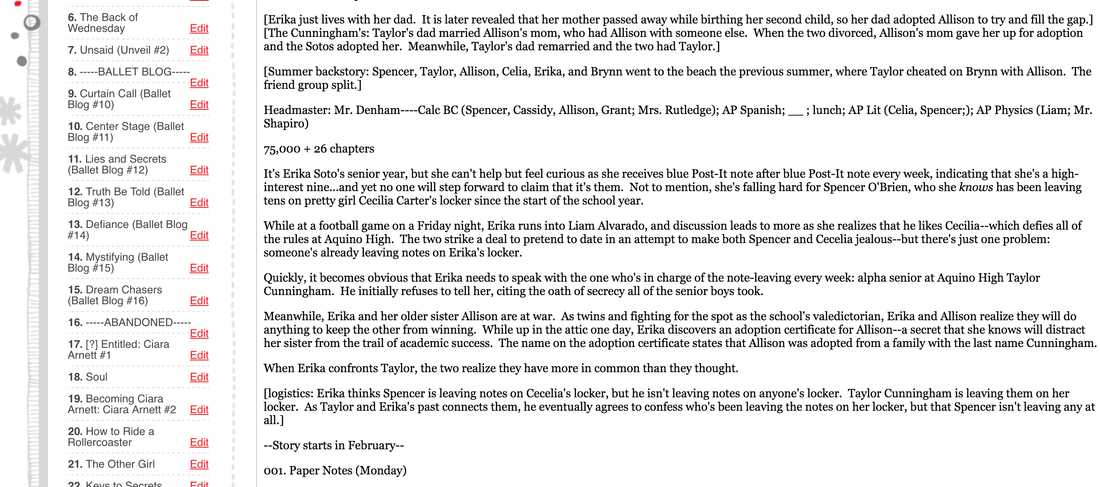 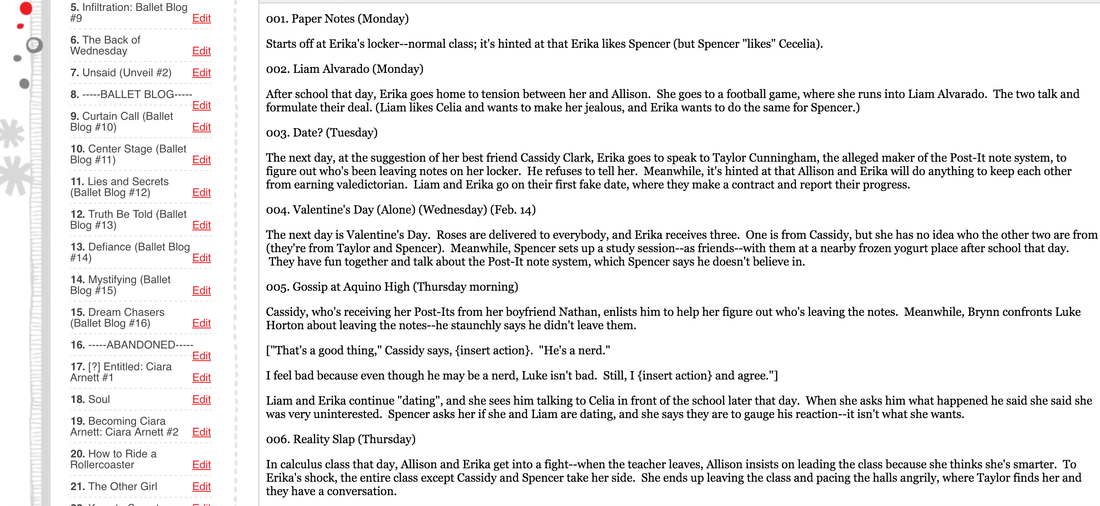 3. InspirationI can't remember a time I've ever tried to write without proper inspiration. I usually do 1 of 3 things (or all 3 things!) as I'm writing a book. 1. Create a cover I love to make my own covers because they really make me think about the theme, vibe, and key elements of the book. I can be known to make upwards of 10 covers for a book just for inspiration/in order to find one I really like. I use Picmonkey to create my covers—for more info on how I make them, check out this blog post. 2. Make a Pinterest board My Pinterest is chock-full of goodies—photos and inspiration that I use for my books. 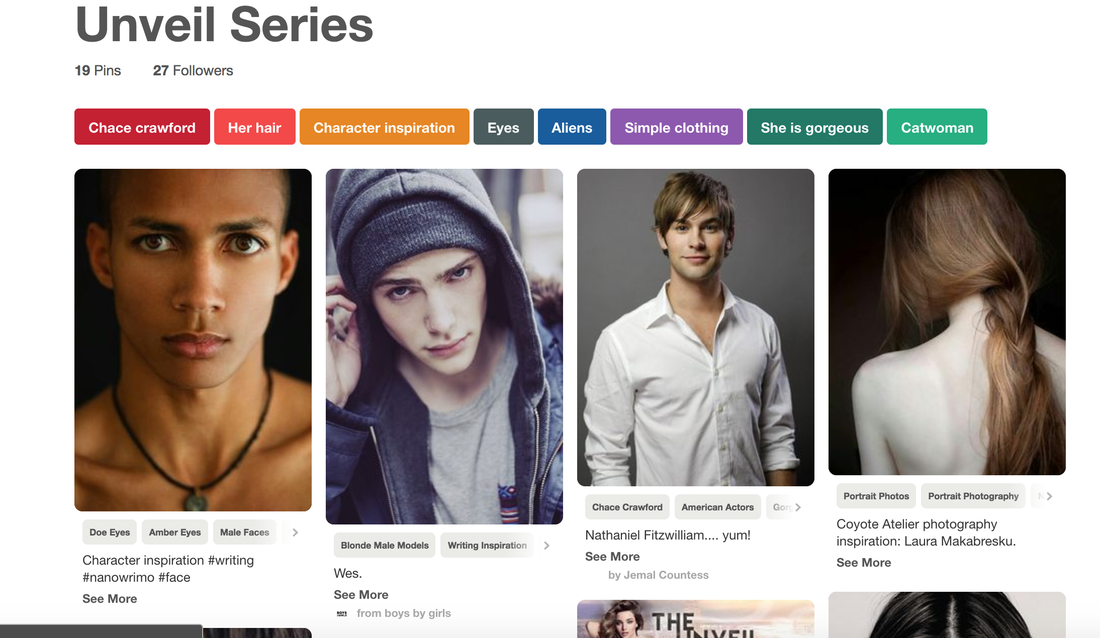 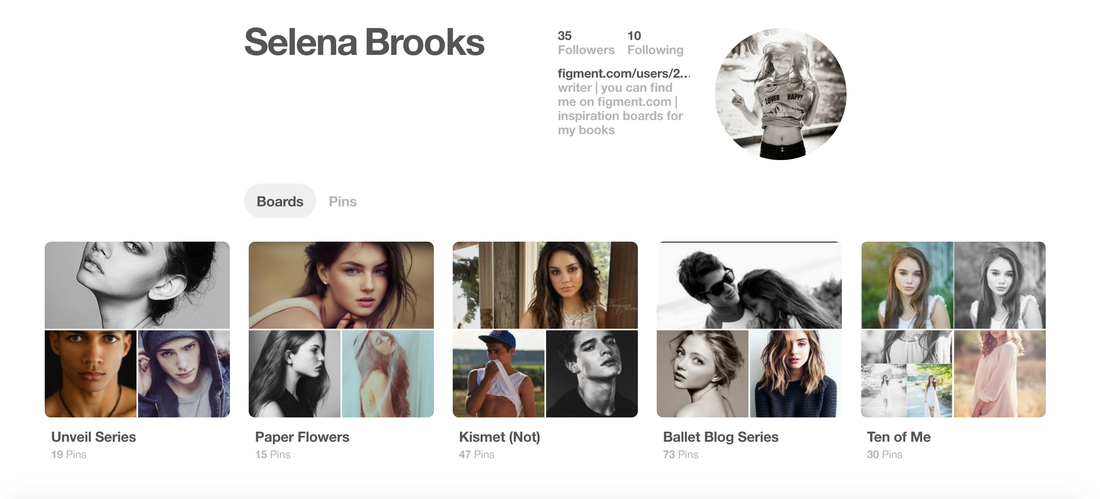 3. Use Charahub to develop my characters I recently discovered Charahub, which enables me to store information about my characters along with photos in one simple, easy-to-find place. I highly recommend it! If you use it, please use this link so they know I sent you! 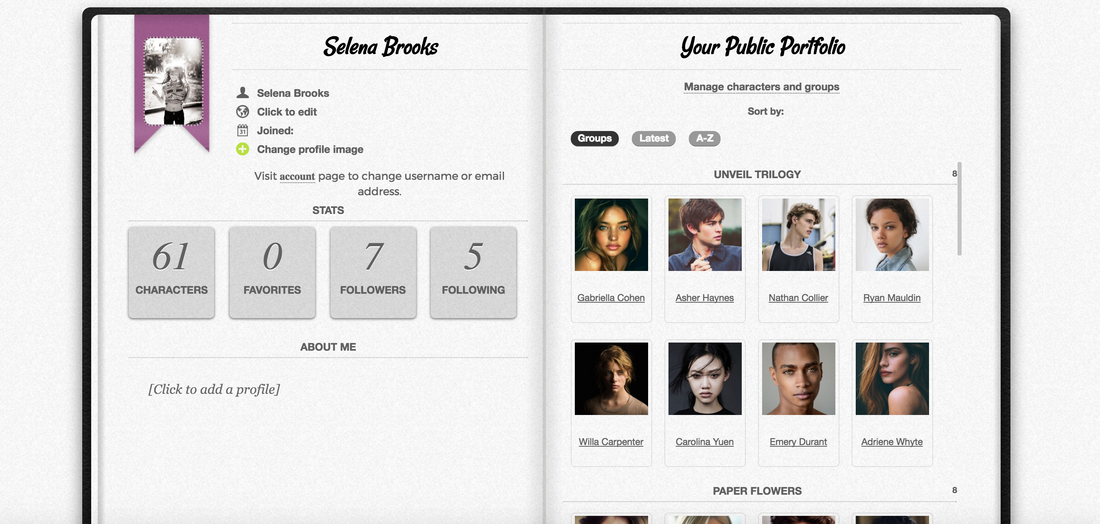  4. WritingI write all of my novels inside Google Docs, because I'm paranoid about my computer crashing and me losing everything. If you haven't noticed already, I'm meticulously organized, and my Google Drive is no different. I have my own Drive just for my writing files. 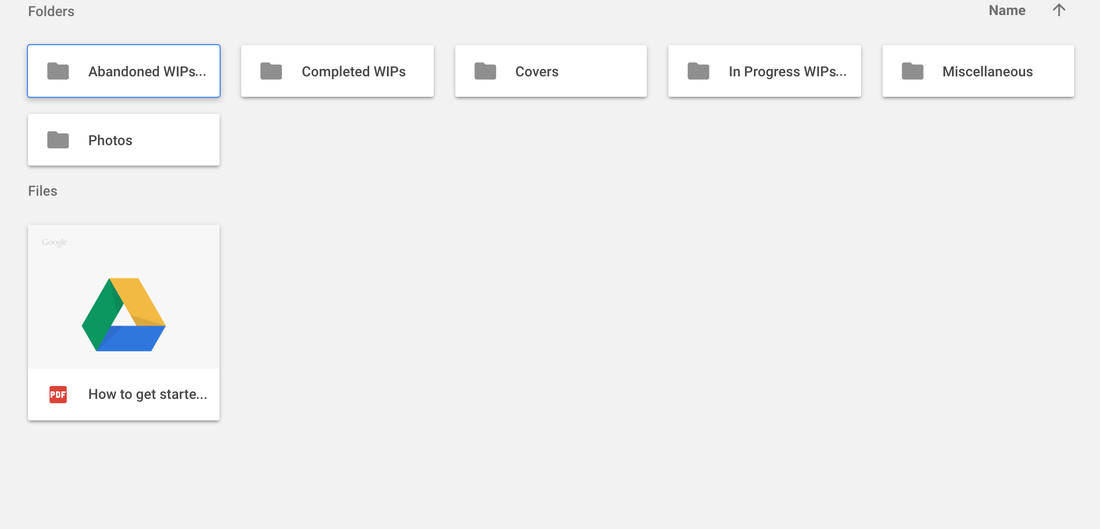 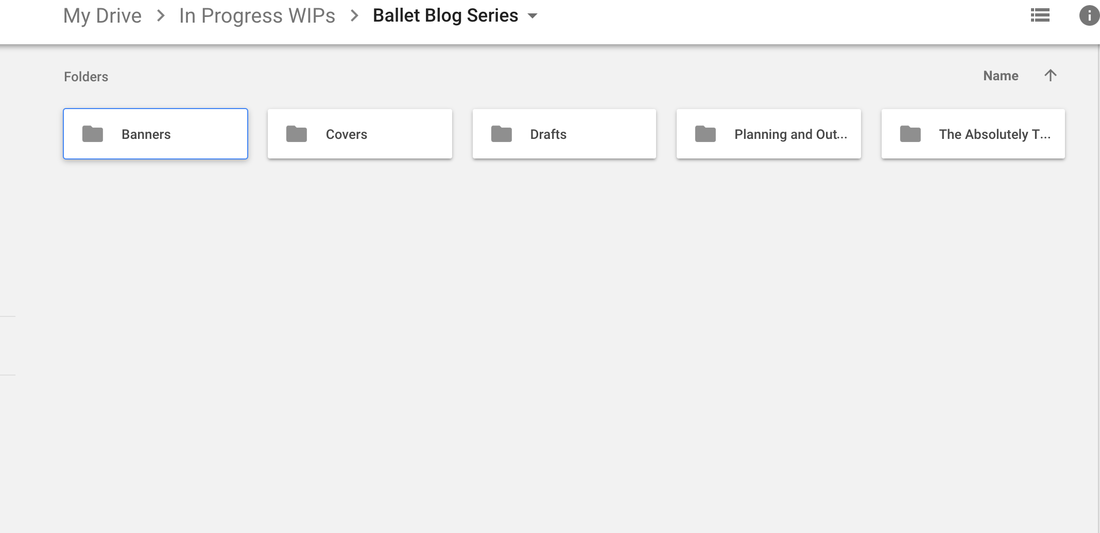 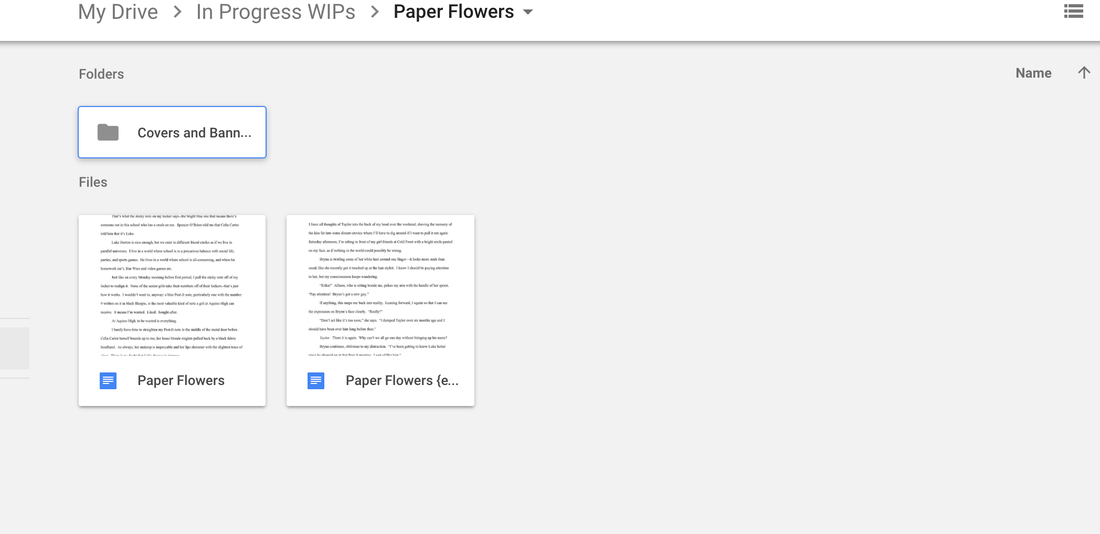 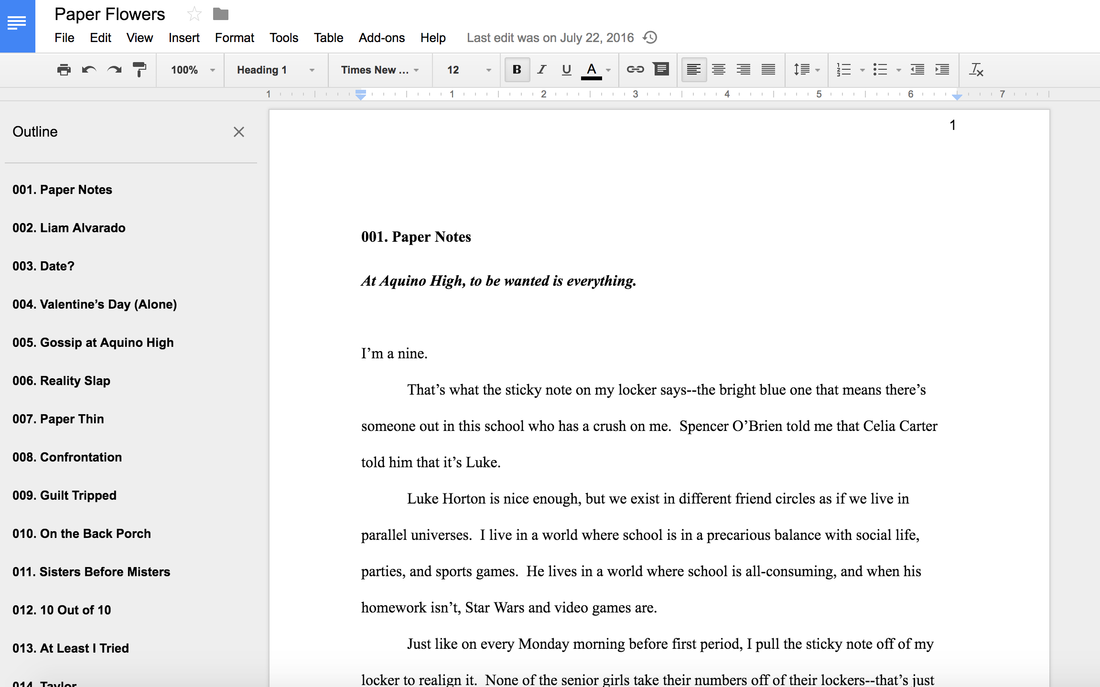 I love using the outline feature in Google Drive because it allows me to jump quickly from chapter to chapter without having to scroll through hundreds of pages. While I'm writing, I use my outline and schedule, and I also use a minimum chapter word count that I established before I started writing. I'll divide the anticipated word count of the book (usually about 55k for my Ballet Blog series and 75k-100k for my other novels) by the number of chapters I'll have, and that's how many words I need to write for that chapter (it's usually about 2000 for my Ballet Blog series and 3000 for other novels). This is SO crucial, because otherwise I won't include as much detail in my books as they won't be as long as I need them to be. Other than that, I just try really hard to write with my characters' unique voice (voice is so important!) while following the plot and simultaneously adding that crucial character development. 5. StoringLike I already mentioned, I'm paranoid about losing my books. All of my chapters are written on Google Docs and backed up on Figment, Wattpad, and a website called LitLift that I use to store my books. Unfortunately, LiftLift has been down for a while, and I'm not sure that the website will ever get back up and running (see, this is why I back things up!) On Figment, where I originally started, I post as I write. This way, I instantly have another means of saving my work. 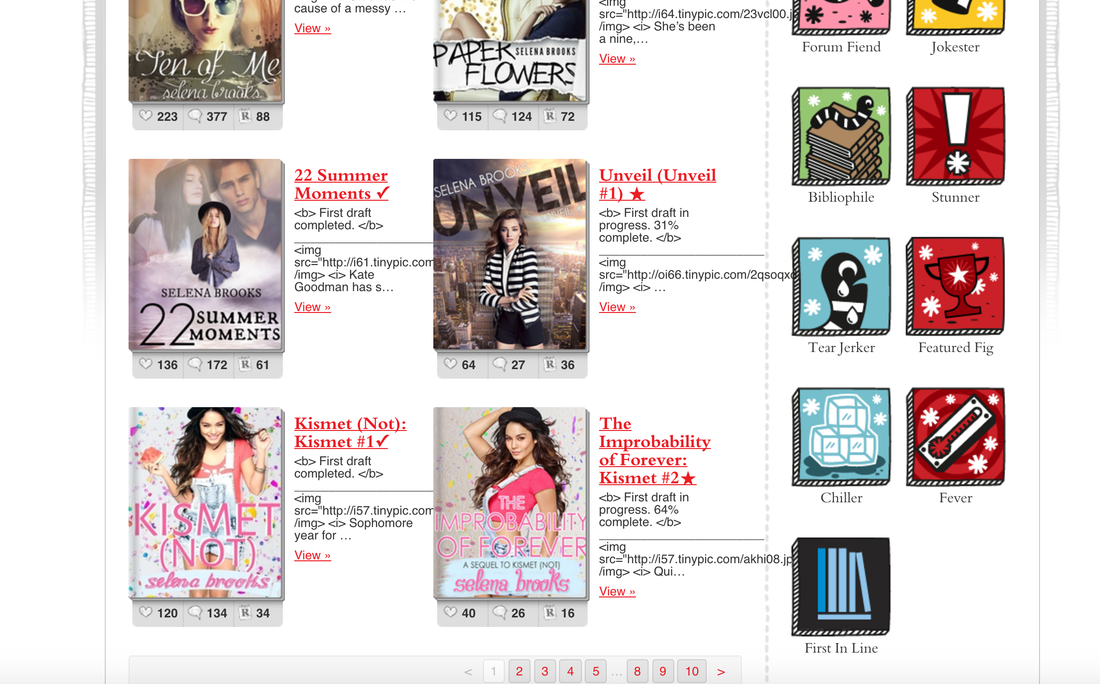 That covers most of my writing files—the others are just scraps of ideas, random inspiration photos, etc. How do you write/keep yourself inspired?
0 Comments
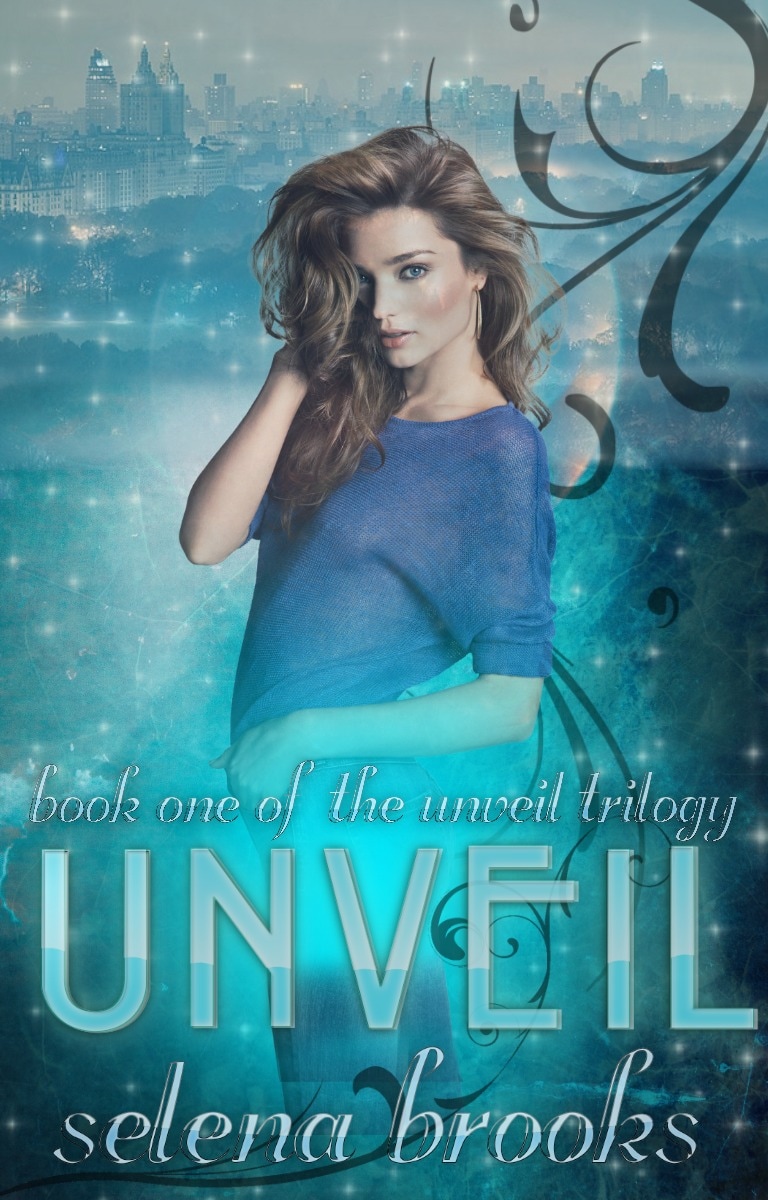
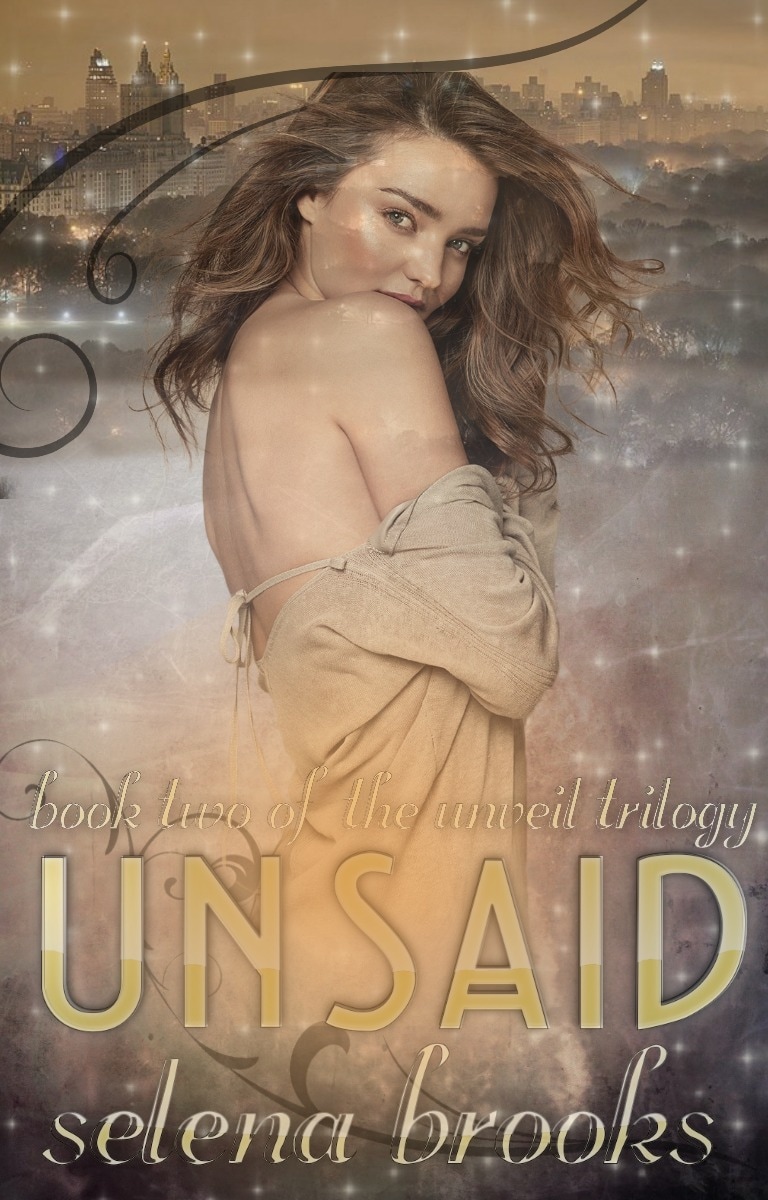
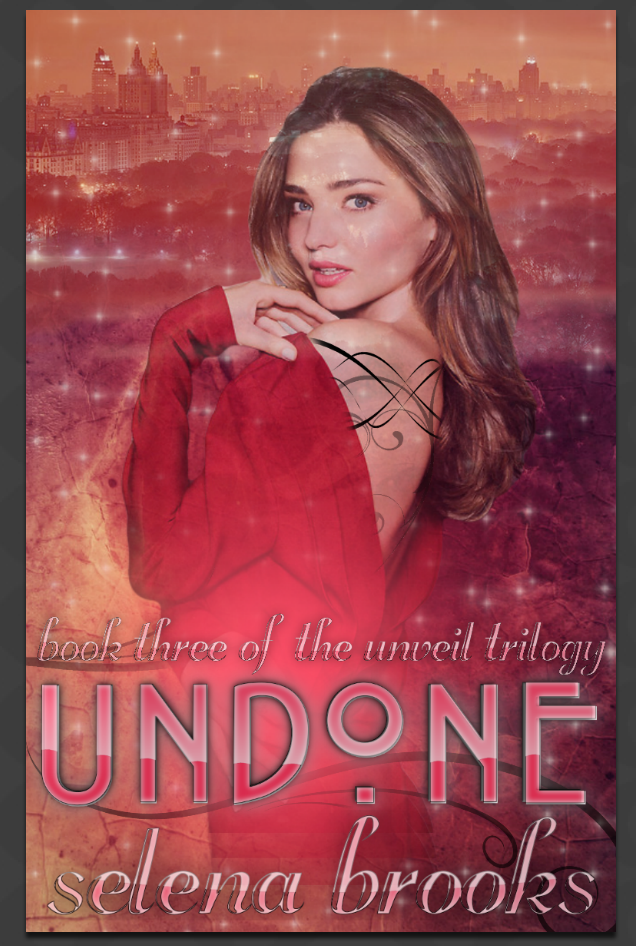
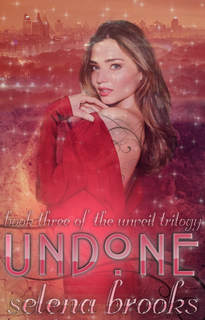
With the release of 3 brand-new covers for the Unveil Trilogy, I figured I would take you behind-the-scenes of my cover-making so you can see exactly how I make my covers.
Resources: Photos: Pinterest Textures & PNGs: Deviantart Photo Editing: Picmonkey Fonts & Text Effects: CoolText Below is a step-by-step overview of how I made the cover for Undone (Unveil #3).
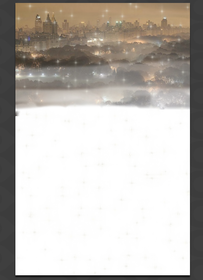
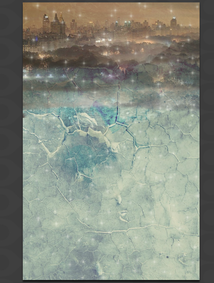
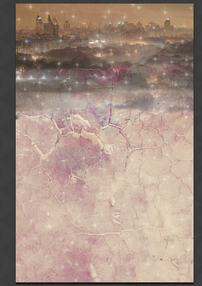
1. I added, blended, and textured the New York City skyline before beginning. I also added a star-like sparkle effect. 2. I added a texture behind the skyline. 3. Then, I colored the texture to match the reddish color scheme I was going for with this cover.
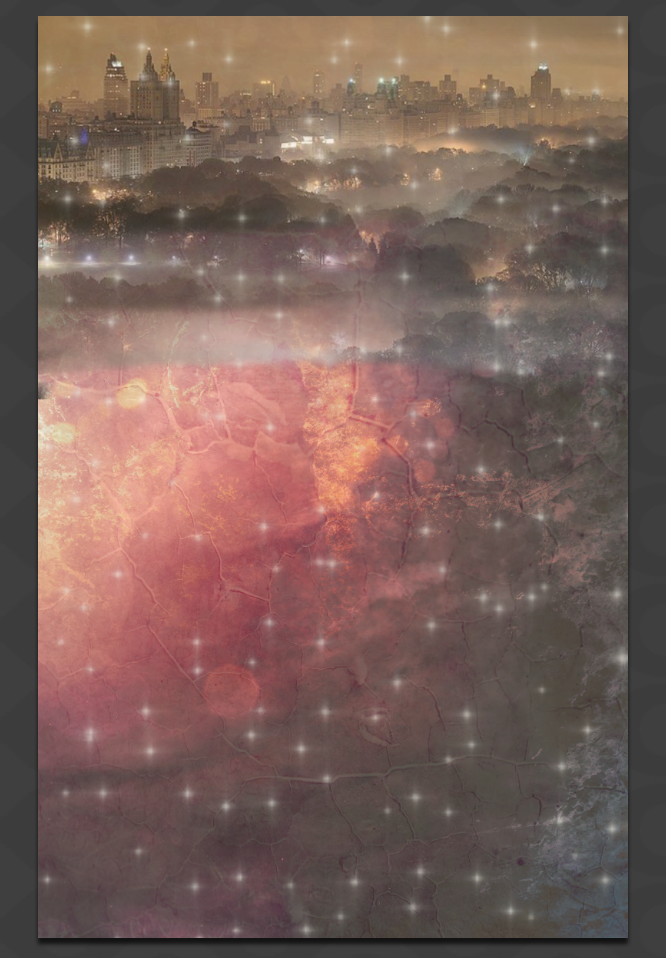
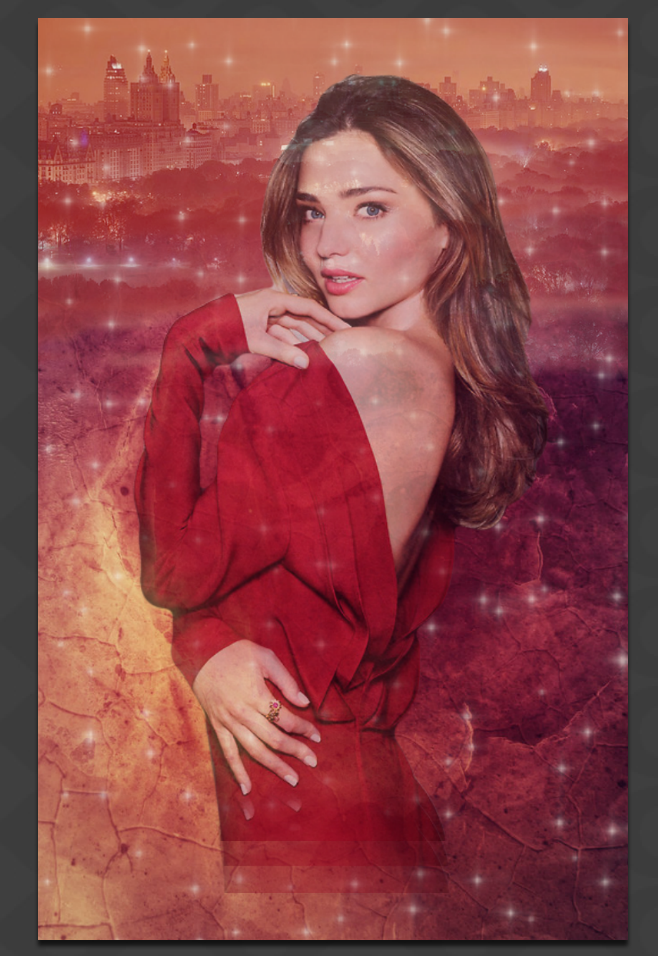
4. I added a second texture and blended it with the first one. 5. I colored the New York City skyline to match the texture. 6. I added in the model, but haven't yet blended.
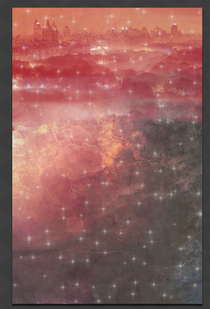
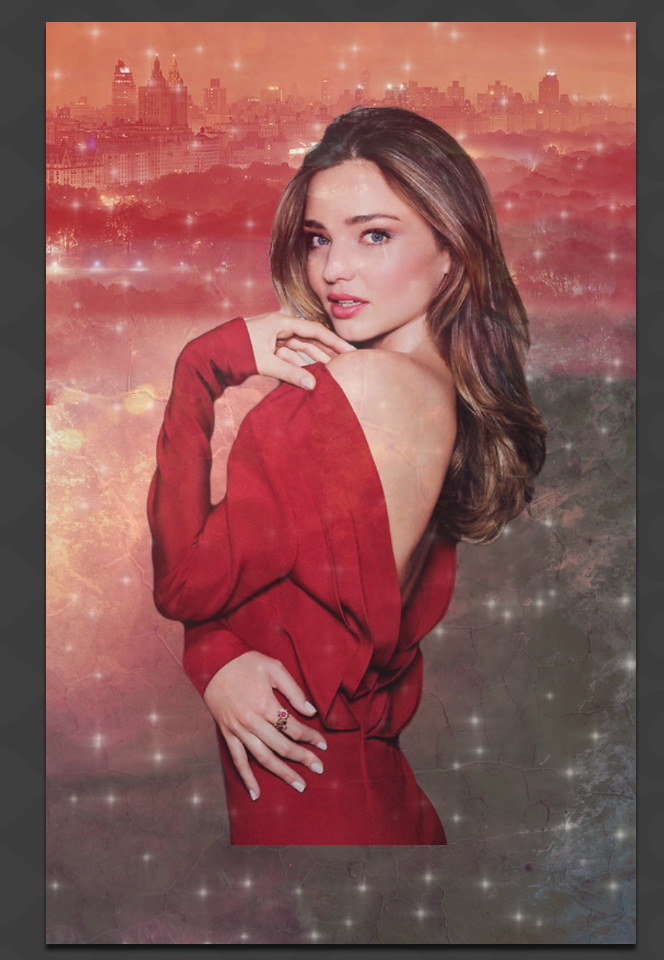
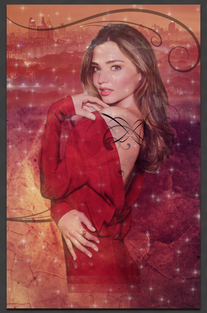
7. Lots happening here! I switched out the texture/color of the skyline because I didn't like the way it fit, and I blended in the model. 8. I added the swirl-tattoo effect. 9. Then I put in the text, with no effects yet.
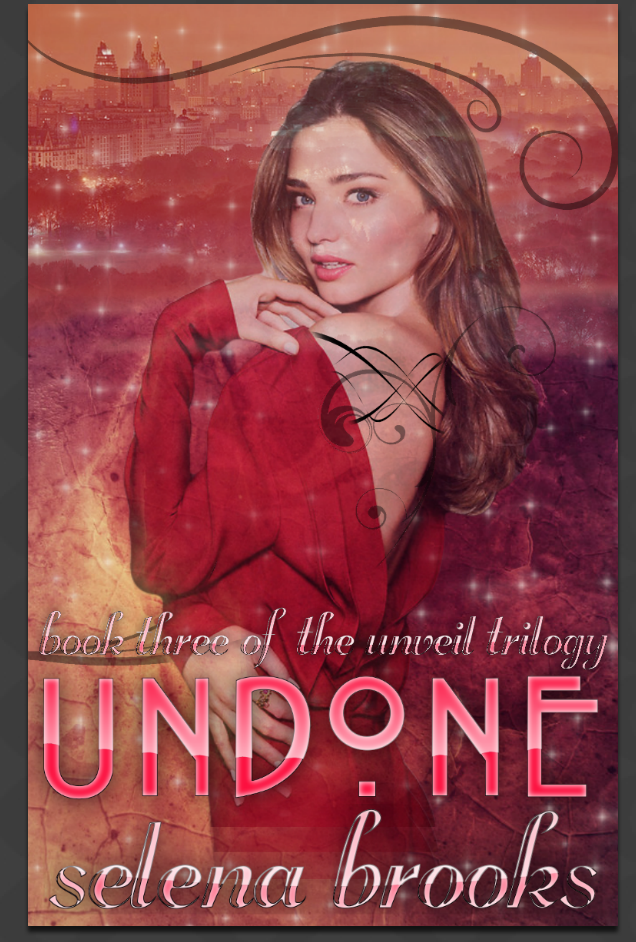
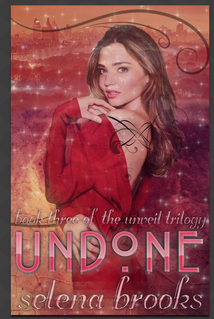
10. I blended and faded the text a little to make it fit better with the rest of the cover. 11. I added the red glow to the text. 12. Just a few final touch-ups—I dulled the text a little and faded the tattoo on the model's back. And that's the finished product! It only took me about an hour to make and was relatively simple. Plus, all of the tools I used are completely free (some do require you to create an account, though). What do you think of the covers?
|
AuthorWriter, life-lover, world-explorer. Follow me for updates on my writing. Archives
December 2017
Categories
All
|

 RSS Feed
